I love green shadow...almost TOO much! Here's a pretty and fun green eyeshadow tutorial featuring Too faced's Pretty Rebel Palette!
Enjoy!

Step 1: I used an Elf Smudge Pot in Brownie Points as a primer. I applied this all over my eyelid, and just right above the crease. I then softened the harsh line with my fingers and "smoked it out."

Step 2: I then applied the Elf Studio Kohl Liner all over my eyelids as a super dark base for my eyeshadow.


Step 3:Using a brush, I smudged that black liner all over my eyelid, and just above my crease.


Step 4: I then grabbed my Too faced Pretty Rebel Palette.

Step 5: Put on a "super-excited face," cause sh*ts about to get real! Apply that gorgeous duochrome shade "girly" all over your eyelids everywhere we applied the black base.


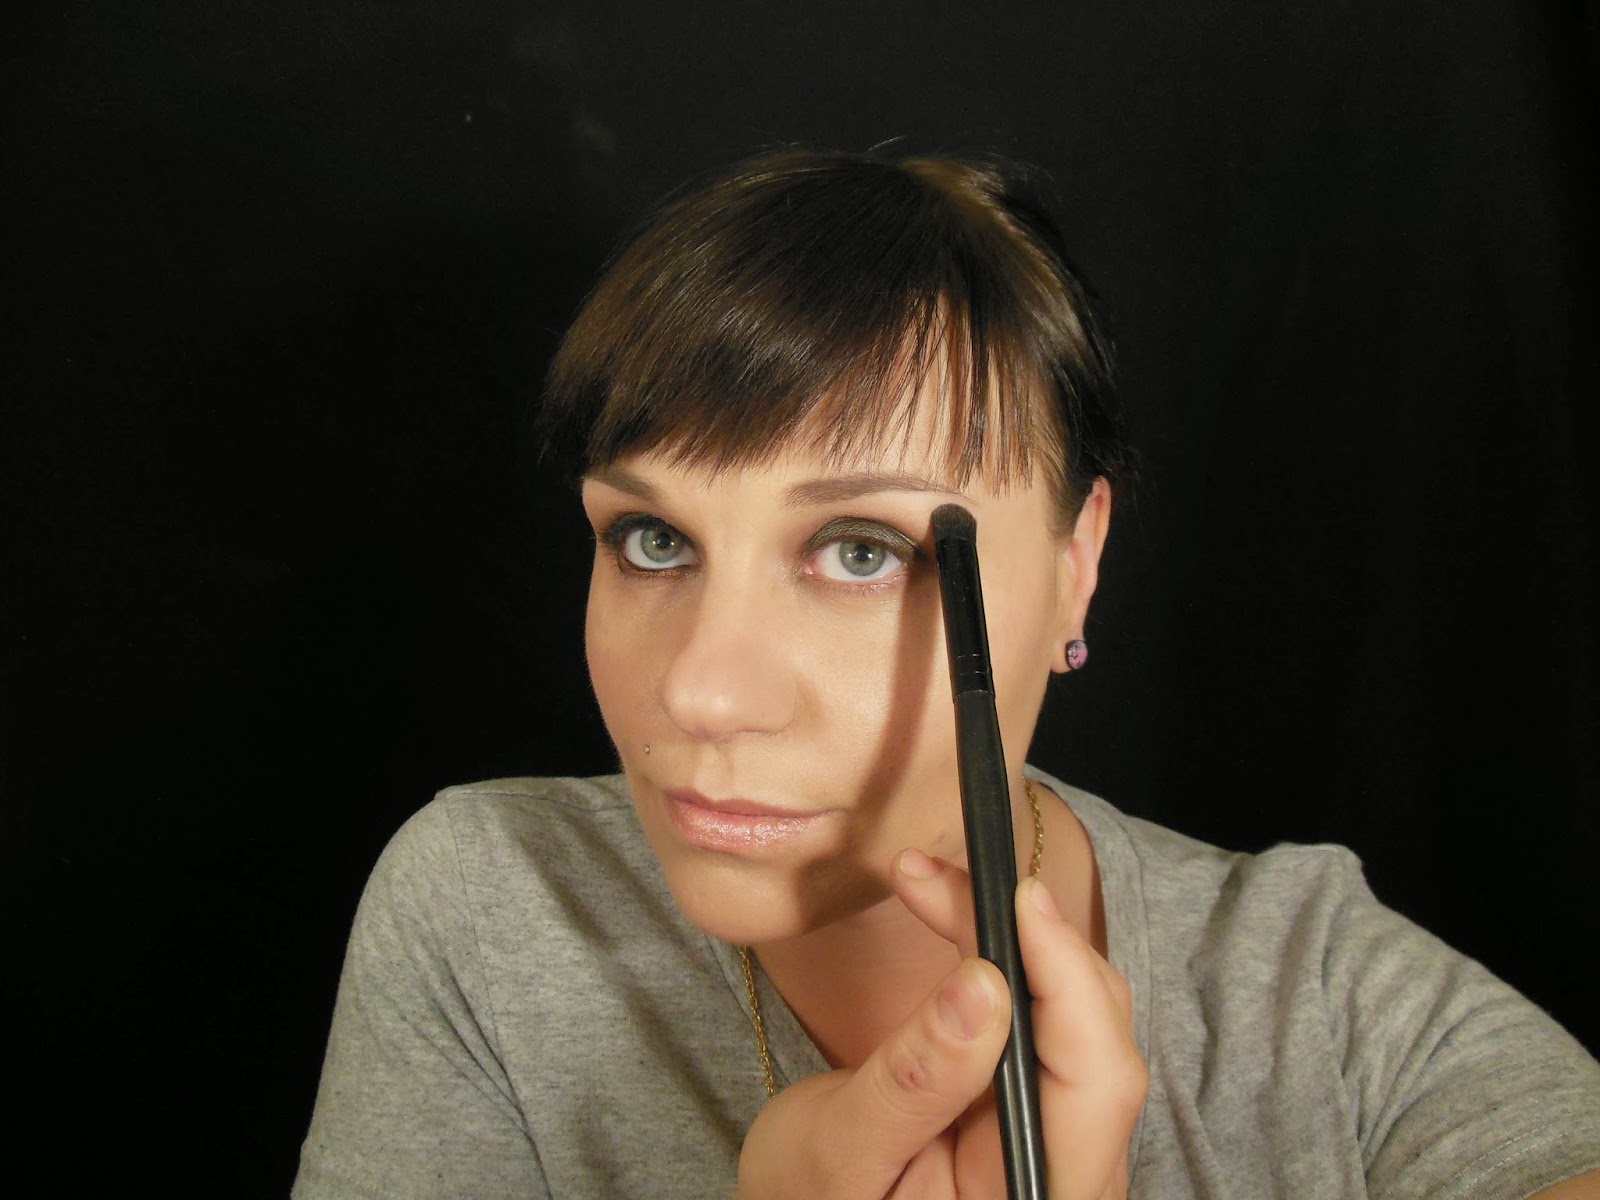
Step 6: Using the shade "Ringleader," I smudged out the very top edge of "girly" and blended it upwards and outwards.


Step 7: I then applied the shade "Dainty" as a highlight for my brow bone. I blended very gently where "Dainty" and " Ringleader" met, being careful not to bring the matte shade too far into the shimmery one.

Step 8: I then applied Brownie points underneath my lower lash line with a smudge stick for a metal foil kind of look.


Step 9: I then used a black gel liner (this one is a no name brand from eBay) and I ran this along my upper lash line, smudging the gel inbetween my lashes for added volume.


Step 10: I then used the Too Faced perfect Black Liner to line my water line. I didn't take a picture of it because it's weird...lol.

And, now the lids of your optical stems should look like this:

Step 11: I then applied a black mascara. this one is the Elf Mineral Infused Mascara.


Step 12: I then used a deep matte powder to sculpt my Native American cheekbones. This is my "Chocolate Soleil," AKA Elf's Studio Pressed Powder in Coco. (this seriously works REALLY well, it's the perfect matte and blends like a dream)


Step 13: I then used a cream blush. This one is Tarte's Green Siren Cheek Stain. I always apply my blush about an inch away from the apples of my cheeks and I blend it upwards and outwards towards my hairline, stopping about half an inch from my actual hairline. I do this because it's easier to blend towards your nose/apple area without overdoing it and ending up with "Doll Cheeks." It's easier to gauge whether or not you need more product from there. It also looks more natural.


Step 14: I then applied an Hourglass Ambient Lighting Powder in Ethereal Glow to my T-Zone and cheeks. If you do not want to spend a ton of money on a powder highlight, you could always use the Elf Baked Highlighters. If you want something a bit more pricey without being crazy, a Mac Mineral Skinfinish will do as well. All three products are awesome but have different price points.


Step 15: I then applied a Mac Lipstick in Shanghai Spice. Some other colors that are more affordable and are VERY similar in color are Elf's Mineral Lip Gloss in Au Naturale, Elf's Extra Lip Gloss in Joe, Maybeline Color Whisper in Mocha Muse, Elf Mineral Lipstick in Nicely Nude or Revlon Lip Butter in Peach parfait. (I'm sure there are pleeeeenty more. These are similar ones from my own collection)


Finished Look! (Bonus BF and I Cutesy Pic in the Studio!)


Comments
Post a Comment