I had the craving to dye my hair blue again last night. Well, after I did, I wanted something playful and flirty to help accentuate my look...and that's where makeup came in!
Let's get on with the tutorial!


.JPG)


.JPG)

.JPG)
.JPG)
.JPG)
.JPG)
.JPG)
.JPG)
.JPG)
.JPG)
.JPG)
.JPG)


 I then coated my lashes with a coat of Smashbox's Full Exposure Mascara to top off the look.


Let's get on with the tutorial!
Prime your eyelids. I'm using my Elf Glitter Primer.
Next I had taken Elf's Jumbo Eyeshadow Crayon in Forest Nymph and applied it to my eyelids. I smudged it to soften it a bit as a base for a smoky eye.
For this next step, I had taken Mushroom from the Mariposa palette and I applied this to both my inner and outer corners of my eyelids. I left a space in the middle of my eyelids where I will be applying a different color. I also brought Mushroom right above my crease as well to blend and smoke out with my highlight shade.
Next, I had taken the shade Haight and applied it directly to the open space on my eyelids. I softly patted it back and forth to somewhat blend it into Mushroom.
I then applied Skimp under my brow to highlight this look. I also blended a bit into the very top of Mushroom.
Next I applied a bit of the Elf Jumbo Eyeshadow Stick in Forest Nymph again, but this time I used a smudge stick and applied it under my lower lash line.
Next I dipped a sponge applicator back into Mushroom, and patted it directly on top of the where I applied the Elf Eyeshadow Stick.
I then lined my waterline with Too Faced's Perfect Black Eyeliner.
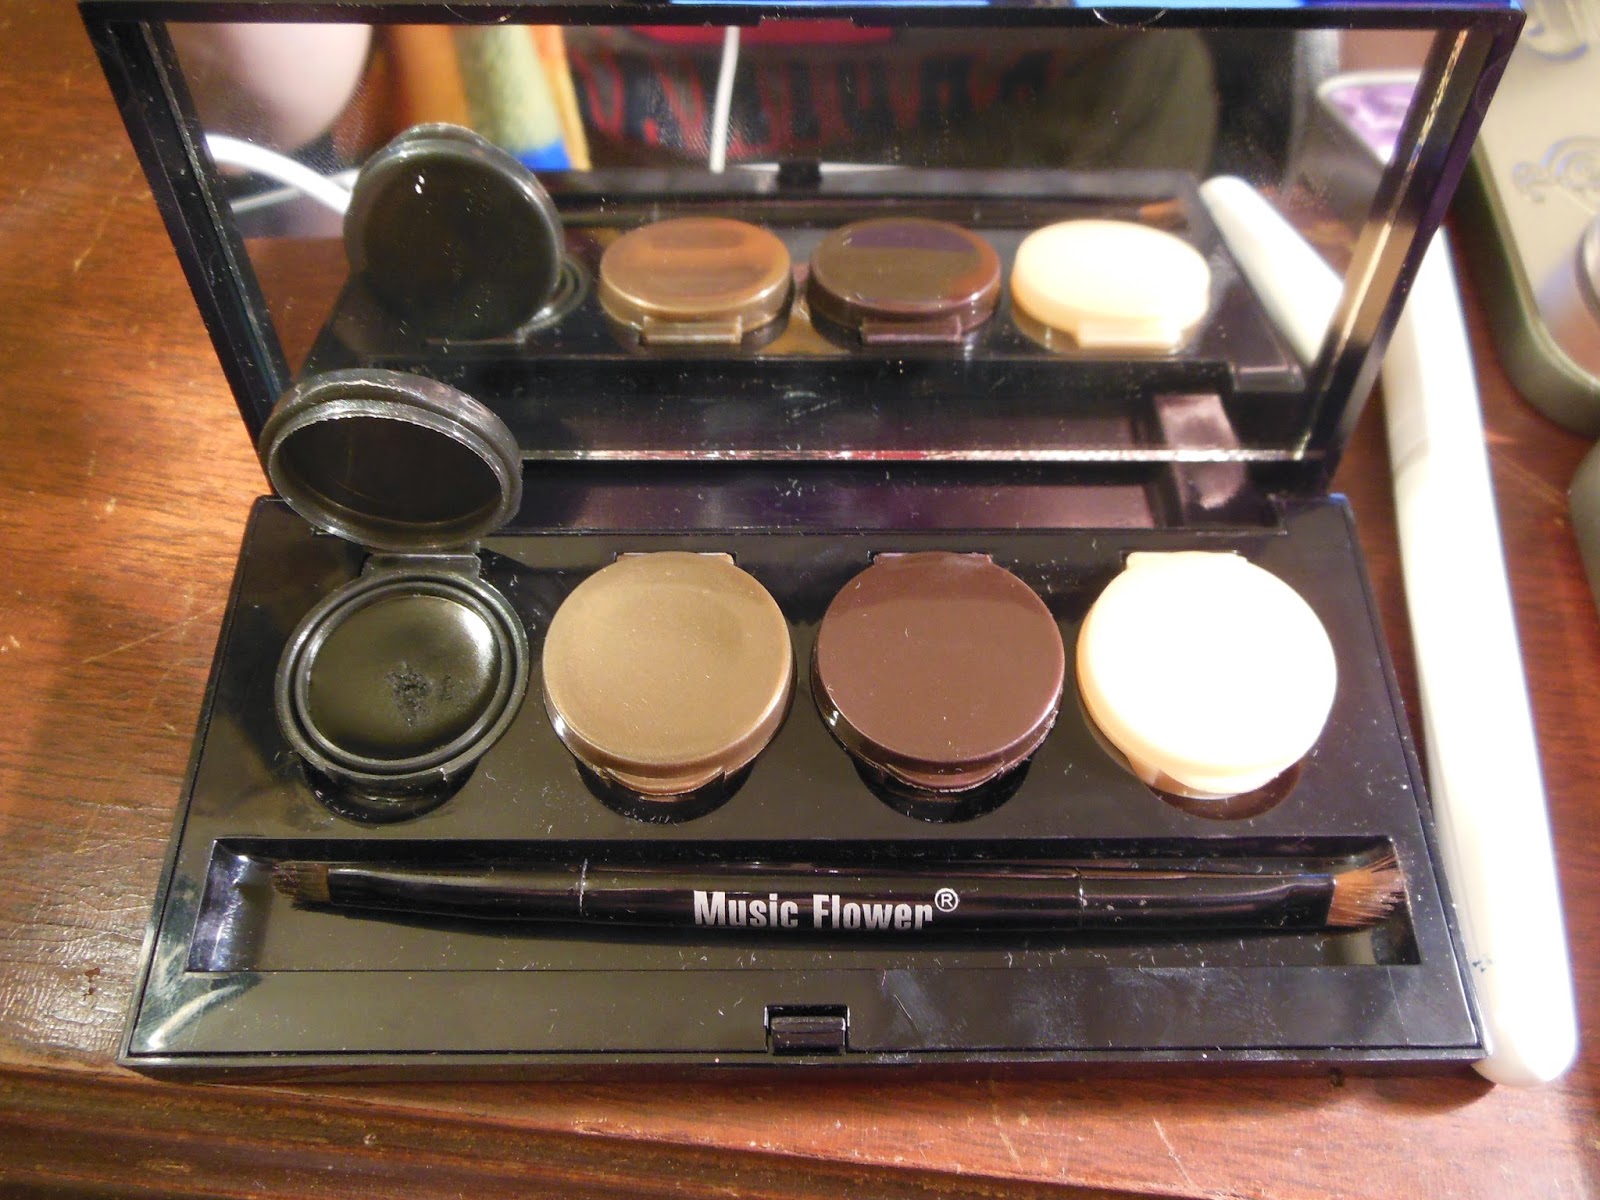
Next I applied a black gel liner from the Music Flower Gel liner palette and created a wing.
This is the finished look! What do you guys think of this eyeshadow look? Would you try it?
Thank you for viewing!
<a href="http://www.bloglovin.com/blog/4018802/?claim=86hy8rtyy4r">Follow my blog with Bloglovin</a>
That is a great look; thank you for all your tutorials, I enjoy them and learn form them.
ReplyDelete